Last updated November 21, 2026
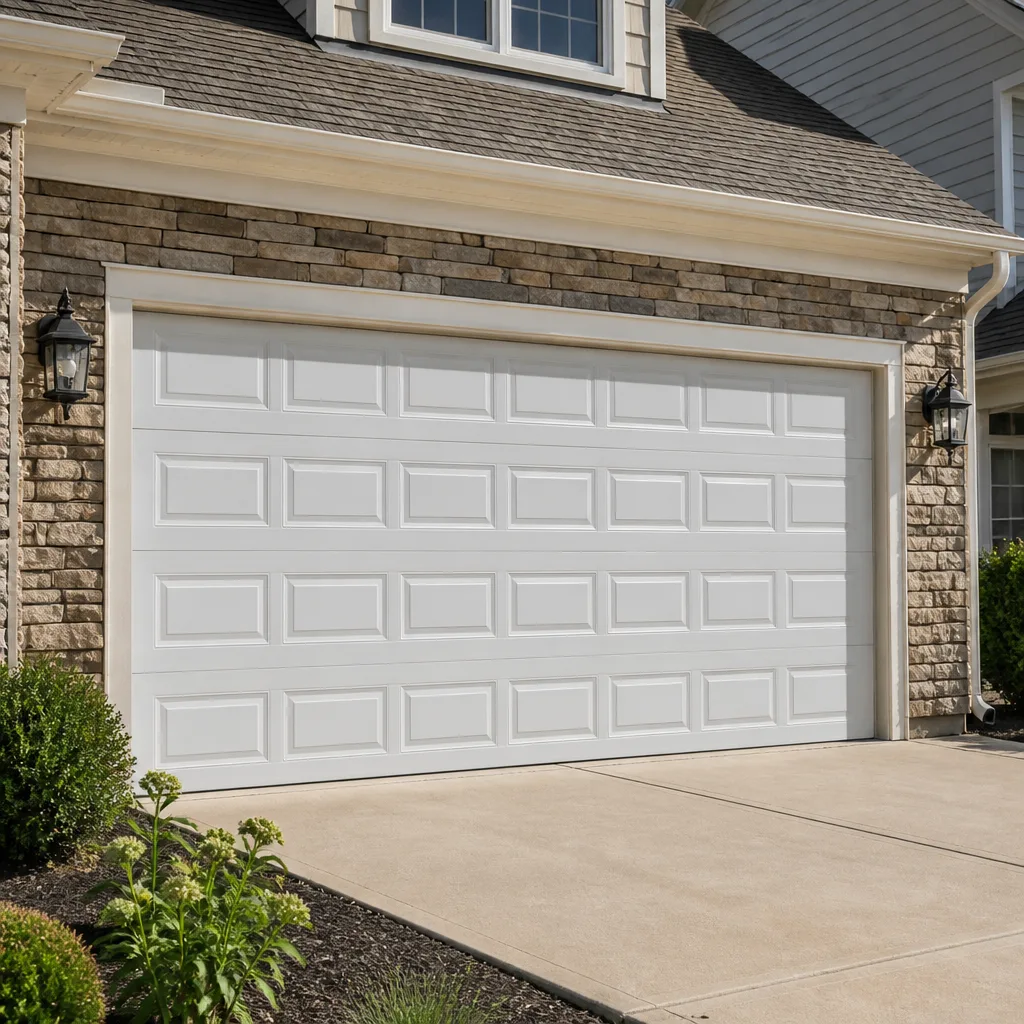 Raised-panel steel
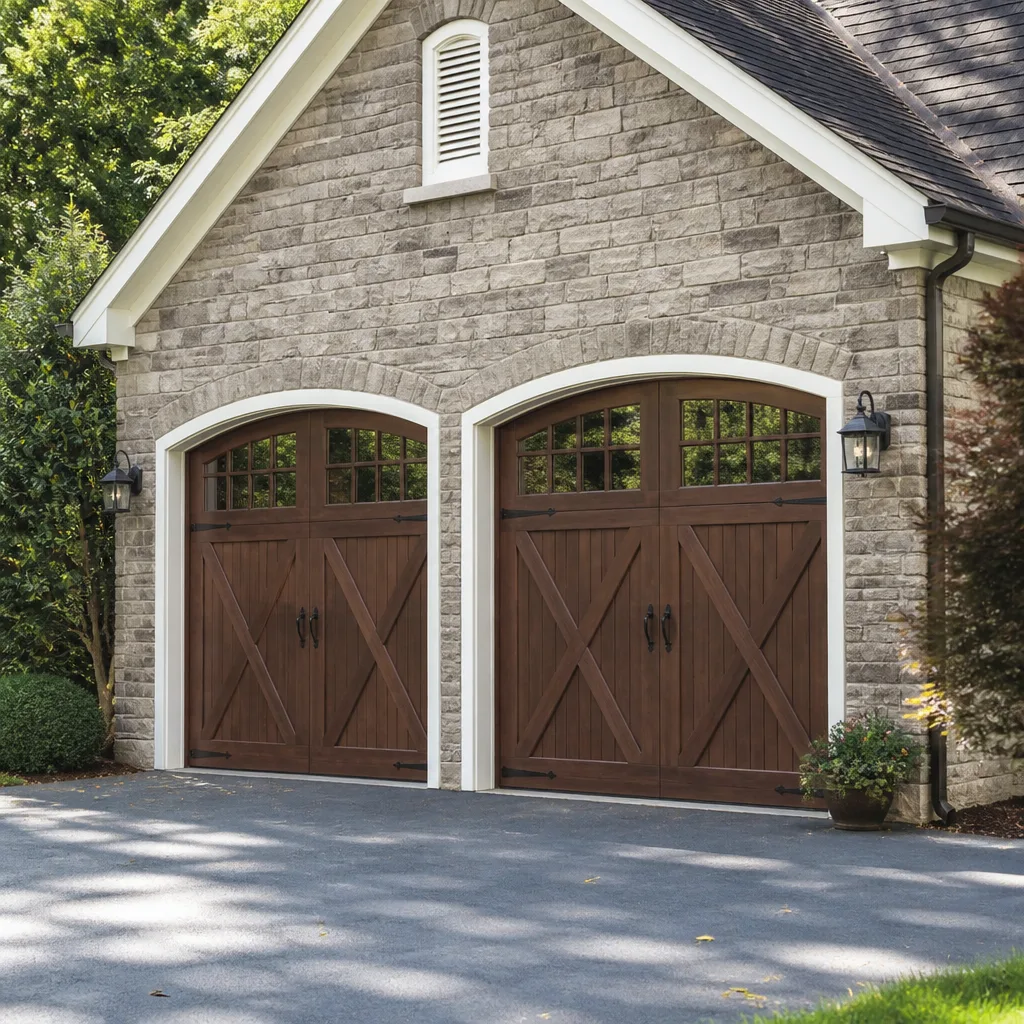 Carriage house
 Modern flush
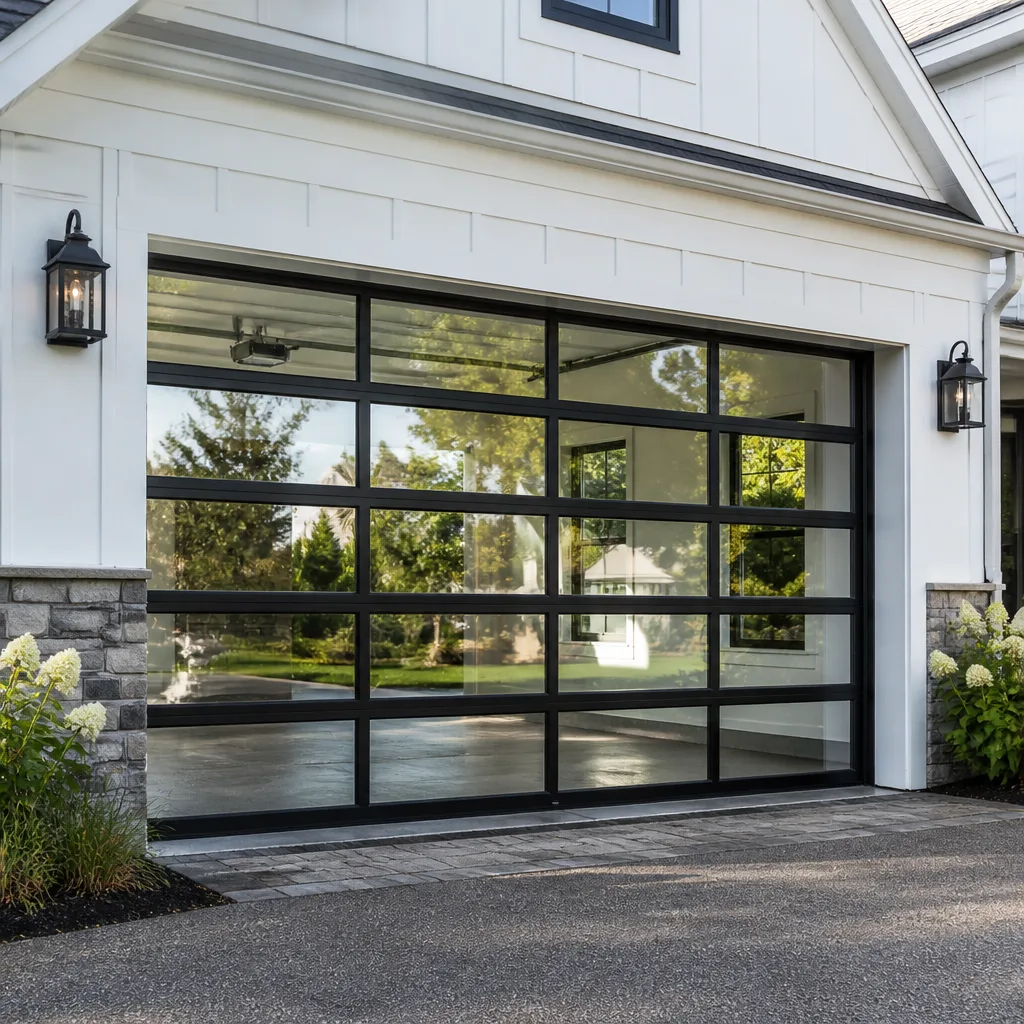 Full-view glass
 LiftMaster openers
 Chamberlain openers
Full 25-point door and opener safety check with every visit - springs, cables, rollers, tracks, and your LiftMaster or Chamberlain opener included
You get a price before we start. It does not change when the pro arrives.
Get your free estimateGarage Door Repair Maintenance Checklist for Heather Gardens Homeowners
Most maintenance checklists tell you to “lubricate moving parts.” That instruction alone has caused plenty of homeowners to spray WD-40 on torsion springs, a mistake that strips the protective coating and speeds up corrosion. Knowing what to apply, where, and what to skip is the whole job. This guide goes past the generic list. Every inspection point here is tied to the failure it prevents, so you know what you’re actually checking for and why it matters in a Heather Gardens garage. You’ll learn which lubricant belongs on rollers versus springs versus hinges, how to test spring balance safely, how to spot a fraying cable before it snaps, and how Colorado’s UV and freeze-thaw cycles wear weather seals faster than most people expect.
Quick Answer
A garage door maintenance checklist should cover lubrication with the right product per component, a spring balance test using the manual release, a visual check for cable fraying, weather seal inspection, and a hardware tightness check. In Heather Gardens, run this checklist twice a year and often more if your door cycles several times a day. Anything involving torsion springs or cables is inspection only: those parts are under extreme tension and belong to a trained technician.
Styles & brands we work with
- Raised-panel steel
- Carriage house
- Modern flush
- Full-view glass
- LiftMaster openers
- Chamberlain openers
Table of Contents
- Why a Symptom-Based Checklist Beats a Generic One
- Lubrication: The Right Product for Each Component
- Testing Spring Tension Balance Safely
- Cable Fraying: Indicators Most Homeowners Miss
- Weather Seals and Colorado’s UV and Freeze-Thaw Cycles
- Hardware, Tracks, and Rollers
- How Often Heather Gardens Doors Need This Checklist
- Opener and Safety Reverse Checks
Why a Symptom-Based Checklist Beats a Generic One
A generic checklist tells you to “inspect the door.” A symptom-based one tells you what a bad result looks like. That difference matters because most garage door failures don’t happen without warning. They telegraph themselves weeks ahead through small changes: a door that shudders on the way up, a faint rubbing sound, a seal that lets in a sliver of daylight. When you know what symptom each inspection point is watching for, you catch problems while they’re cheap to fix.
Here’s how we frame each check in this guide:
- The inspection point: what to look at.
- The symptom it prevents: what a failing result looks like.
- What it means: whether it’s a homeowner fix or a technician call.
In our experience, the doors that fail suddenly are the ones that were never checked, not the ones that got a close look twice a year. Heather Gardens homeowners tend to keep their doors for a long time, so the goal is catching wear early and getting years more out of the same system.
One point up front: a few of these checks are visual only. Torsion springs, cables, and bottom brackets are under tension high enough to cause serious injury if handled wrong. We’ll tell you exactly where the line sits between inspecting and calling a technician.
Lubrication: The Right Product for Each Component
Lubrication is where most well-intentioned maintenance goes wrong. The wrong product attracts dust, gums up moving parts, or strips a coating that was protecting metal. The right product depends entirely on which component you’re touching. Here’s the breakdown we use on every service call.
| Component | Right lubricant | Never use | Symptom it prevents |
|---|---|---|---|
| Steel rollers | White lithium grease or a garage-door-specific spray | WD-40 (solvent, not a lasting lubricant) | Grinding or squealing on open and close |
| Nylon rollers | None; replace when worn | Grease (attracts grit, wears nylon faster) | Flat spots and rough travel |
| Hinges | A few drops of light machine oil or silicone spray | Heavy grease (collects dust into a paste) | Creaking and stiff joints |
| Torsion springs | Nothing. Leave them alone. | WD-40 or any solvent spray (strips coating, speeds corrosion) | Premature spring failure from corrosion |
| Tracks | Clean cloth only | Any lubricant (attracts grit, causes binding) | Rollers dragging and door binding |
Notice that the spring gets nothing. That’s the mistake we mentioned at the top. WD-40 is a solvent, not a lubricant, and spraying it on a torsion spring removes the coating that keeps moisture off the steel. The same rule applies to your tracks: they’re meant to be clean and dry, not slick. A lubricated track collects grit and makes the door bind.
For a full lubrication pass, work top to bottom and follow this order:
- Close the door and disconnect the opener so nothing moves while you’re working.
- Wipe each track down with a dry cloth to remove dust and grit.
- Apply the correct lubricant to hinges and steel rollers only, using the smallest effective amount.
- Leave springs, cables, and the inside of the tracks untouched.
- Reconnect the opener and cycle the door once to check for smooth travel.
If you’re not sure which type of rollers your door has, a technician can tell you in seconds and confirm whether they’re steel or nylon. That one detail changes the entire lubrication routine.
Testing Spring Tension Balance Safely
Spring balance is the check that tells you whether your springs are still doing their share of the lifting. A balanced door feels light. A door with weakening springs feels heavy, and heavy means the opener is straining to do work the springs used to do. Testing it is simple and safe if you follow the manual disconnect method exactly.
Here’s how to test it:
- Close the door fully. Pull the manual release cord so the door is disconnected from the opener.
- Lift the door by hand to about waist height. You should feel steady resistance, not a fight.
- Let go at waist height. A balanced door stays roughly where you left it, maybe drifting an inch or two.
- If the door drops hard or won’t hold, the springs are losing tension.
- If the door shoots up on its own, the springs are over-tensioned or the door is out of adjustment.
What an imbalanced result means depends on direction. A door that won’t hold position has springs that are wearing out. That’s the most common finding, and it’s a warning sign, not an emergency. A door that flies up is rarer and should be looked at before the opener gets involved. Either result is a call-a-technician moment. Never try to adjust tension on a torsion spring yourself: that job belongs to a trained professional, and it’s one of the highest-risk tasks in the trade.
We see this often in Heather Gardens, where doors installed at the same time across a block tend to age at the same rate. If a neighbor mentions heavy-lifting symptoms, it’s worth testing yours too.
Cable Fraying: Indicators Most Homeowners Miss
Cables are the quiet failure. They rarely snap without warning, but the warning signs are easy to overlook because they’re small and mostly visual. A frayed cable means a strand has broken, and a cable with broken strands is weaker than the one beside it. Your job is to spot the fray, not to fix it.
What to look for during a visual check:
- Frizzing at the drum. Where the cable wraps around the drum at the top of the door, look for stray strands sticking out like a small brush.
- Kinks or flat spots. A healthy cable runs smooth and round. A kink means the cable has been pinched.
- Rust streaks. Orange or brown staining along the cable or on the door panel below it.
- Sagging cable. A cable that hangs loose between the door and the drum has lost tension.
- Uneven door travel. If one side of the door lags behind the other on the way up, a cable may be slipping or fraying.
Never touch, tug on, or try to re-spool a cable. They’re under tension even when the door is down, and a cable that lets go is dangerous. Look, note what you see, and call it in. A technician can replace both cables at once; replacing one without the other is a shortcut we avoid because matched cables share the load.
Door brands matter little here. We see the same fraying pattern on Amarr, Wayne Dalton, and Raynor systems alike, because cables wear from the same forces regardless of who built the door.
Weather Seals and Colorado’s UV and Freeze-Thaw Cycles
Colorado weather is hard on garage door seals, and it gets at them from both directions. Strong high-altitude UV breaks down the rubber on the bottom seal and the weather stripping around the door frame. Meanwhile, the freeze-thaw cycle squeezes those same seals as temperatures swing across the freezing point. Between the sun and the cold, seals go brittle before their time.
Check these points about twice a year and once after any stretch of hard freezing:
- Bottom seal. Feel along the rubber where it meets the floor. It should be soft and flexible, not cracked or rock-hard.
- Frame weather stripping. Look for gaps, tears, or curling edges where the door meets the sides and top.
- Daylight test. Close the door and look from inside for any light coming through. A sliver of light means air and pests can get in too.
- Compression. Shut the door on a sheet of paper, then pull gently. If it slides out with no resistance, the seal isn’t compressing.
- Water pooling. After a storm, check whether water finds its way under the door.
A hardened seal should be replaced before winter sets in, while the weather is still workable. Sub-zero cold makes seal work harder, and a stiff seal left through a hard freeze can crack through. If a seal fails mid-winter, we can talk through options, but the smarter move is to check it in fall while the fix is simple.
The sun-facing side of a Heather Gardens garage takes the most UV, so seals on that side tend to age first. Give them a closer look than the shaded side.
Hardware, Tracks, and Rollers
The nuts, bolts, and brackets that hold your door together loosen over time from nothing more than daily use. A door opening and closing cycles hundreds of small vibrations through its hardware, and the vibration slowly works fasteners loose. A loose bolt isn’t dramatic on its own, but a door that rattles or rattles loudly on the way down is telling you something.
Run this hardware pass with the door closed and the opener disconnected:
- Check each hinge and bracket with a wrench, tightening any bolt that turns freely. Snug is enough; don’t overtighten.
- Look at the track for dents or bends. A dented track will catch a roller and make the door jump.
- Roll each roller by hand. A worn steel roller feels rough or has flat spots; a nylon roller that’s cracked or worn should be replaced.
- Check the rollers for wobble in their stems. A loose roller will rattle and eventually score the track.
- Look at the door panels for cracks or separation, especially at the hinges where stress concentrates.
Rollers are cheap to replace and easy to overlook until the door starts sounding rough. We also stock and supply garage door parts as a standalone service, so if you identify a worn roller or hinge, the part itself isn’t hard to source. The right part and the right fix beat guessing at what’s rattling.
A word of caution on hard-to-reach hardware: anything connected to the spring system, including the bottom brackets, is off limits. Those parts carry tension even when the door is down. Tighten the bolts you can reach safely and leave the rest to a technician.
How Often Heather Gardens Doors Need This Checklist
A garage door should get this checklist twice a year under normal use. Older doors, or doors that cycle many times a day, need it more often. That’s the standard answer. In Heather Gardens, there’s a reason to think about frequency differently.
Heather Gardens is an active-adult community, and that changes when doors get used. Many households run errands, meet friends, and take classes during the daylight hours, so the doors here cycle more during the day than an average home’s door does. Cycling concentrated into daylight hours still adds up to the same wear: the door doesn’t care what time it opens, only that it opened.
Here’s a simple way to set your interval:
- Typical household use, 2 to 4 cycles a day: check twice a year, once in spring and once before winter.
- Frequent daytime use, several comings and goings a day: check every three to four months.
- After a hard freeze, a major storm, or a strange noise: do a spot check regardless of schedule.
- Any door that’s more than ten years old: check hardware and rollers more often; springs and cables should get a technician’s eye.
The habit matters more than the exact number of months. A door that gets a look every few months never has to go long with a fraying cable or a loosening bolt accumulating unnoticed. If you’d rather not track it yourself, a technician visit is the simplest reset: we go through every point on this list and tell you what’s due.
For a deeper explanation of what each repair involves and when to schedule it, our guide to garage door repair walks through the most common failure points.
Opener and Safety Reverse Checks
Your opener is the most-used power tool in the house, and it has a built-in safety feature worth testing regularly. Every opener made in the past few decades has a safety reverse: if the door meets an obstacle on the way down, it should reverse back up. That feature protects people and pets, and it can drift out of adjustment. Most openers also have a second feature that stops the door from closing if something breaks the beam of light across the opening.
Test both with the door closed and the opener engaged:
- Place a firm object like a roll of paper towels in the path of the door, then press the close button.
- The door should contact the object and reverse immediately. If it presses down and grinds, the feature needs adjustment.
- With the door fully open, break the light beam between the safety sensors while pressing close.
- The door should stop and reverse. If it keeps closing, the sensors or wiring need a look.
- Test the opener’s balance by letting the door open and close a few times; any shudder or uneven travel points to a door problem, not the opener.
This is a good place to note that op the four most common opener brands in residential garages are LiftMaster, Chamberlain, Genie, and Craftsman, and most of them set up this test the same way. If your opener beeps, blinks its light, or won’t respond to the remote after a power blink, see our garage door opener repair page for what each behavior usually means.
If the door works fine but the opener doesn’t, that’s an opener problem. If the opener works fine but the door shudders, that’s a door problem. Knowing which one you’re facing saves a lot of diagnostic time, and it’s the kind of thing that lets a technician show up ready with the right parts.
Common Mistakes to Avoid
- Spraying WD-40 on the springs. It’s a solvent, not a lubricant, and it strips the coating that protects steel from corrosion. Leave springs alone and let a technician handle anything they need.
- Lubricating the tracks. Tracks are meant to stay clean and dry. Grease collects grit, and grit makes the door bind.
- Greasing nylon rollers. Grease on nylon attracts dust and wears the roller faster. Replace worn nylon rollers instead of lubricating them.
- Adjusting torsion springs yourself. This is one of the most dangerous tasks in the trade, and a slip can cause serious injury. Springs are inspection only for a homeowner.
- Tugging on a frayed cable. Cables are under tension even with the door down. Look, note, and call; never handle them.
- Replacing one cable when both are worn. Matched cables share the load, so a worn pair should be replaced together.
- Waiting until winter to check seals. Sub-zero cold makes seal work harder and can crack a stiff seal. Check the seals in fall, in Heather Gardens weather, while the fix is still simple.
See the difference
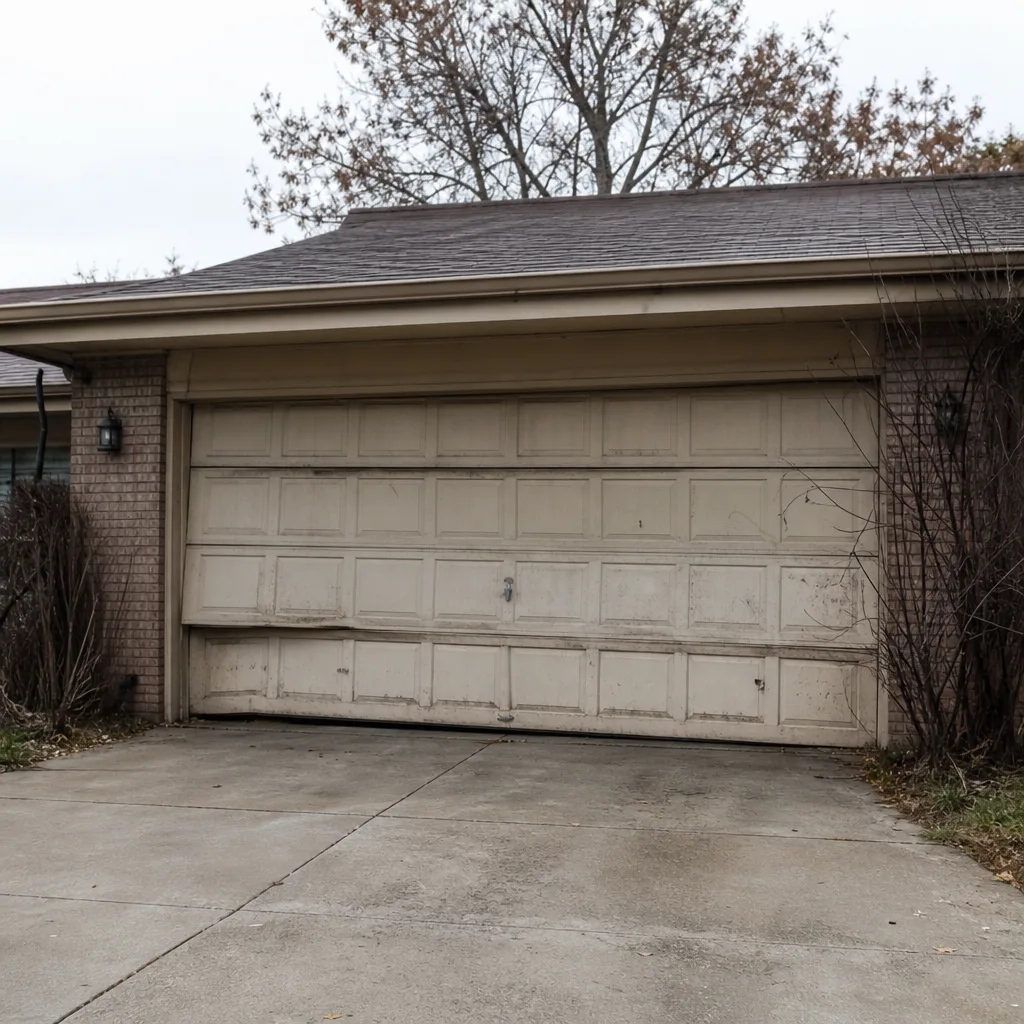 Before
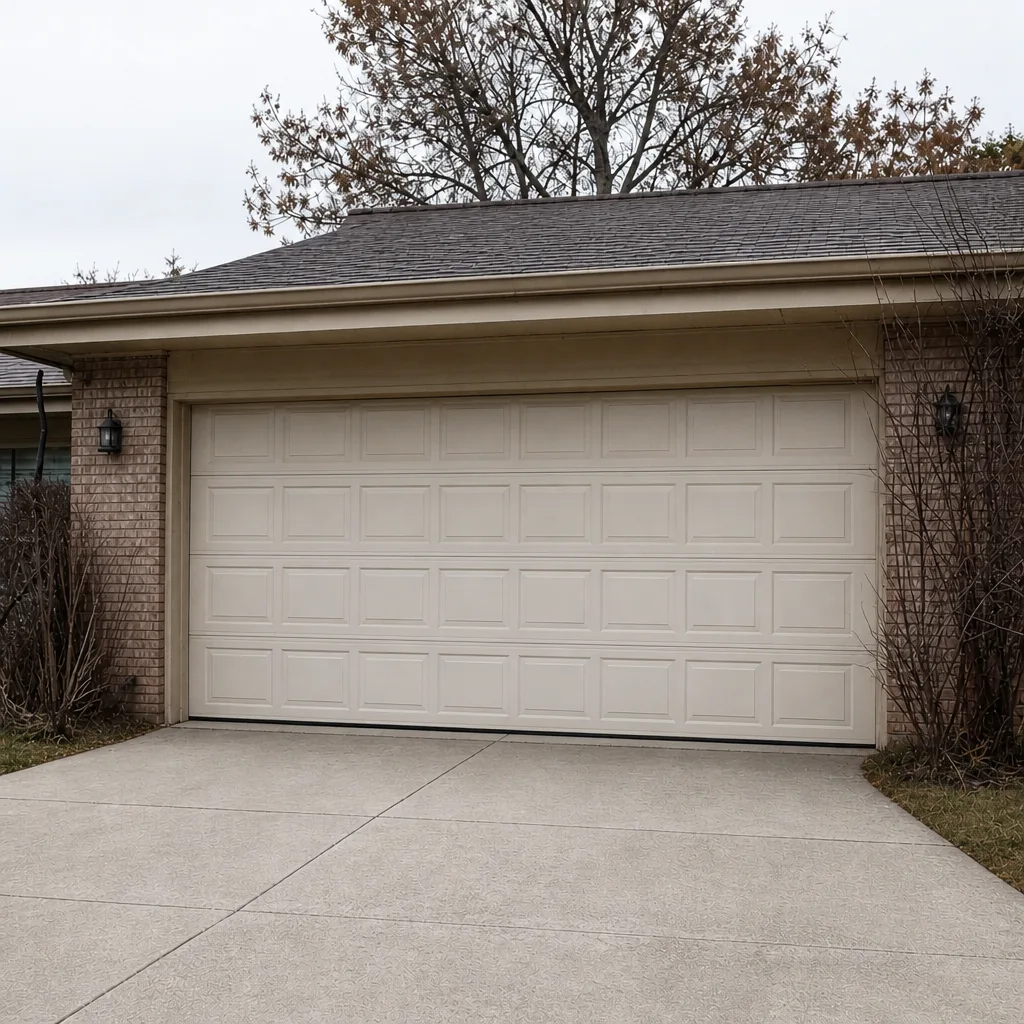 After
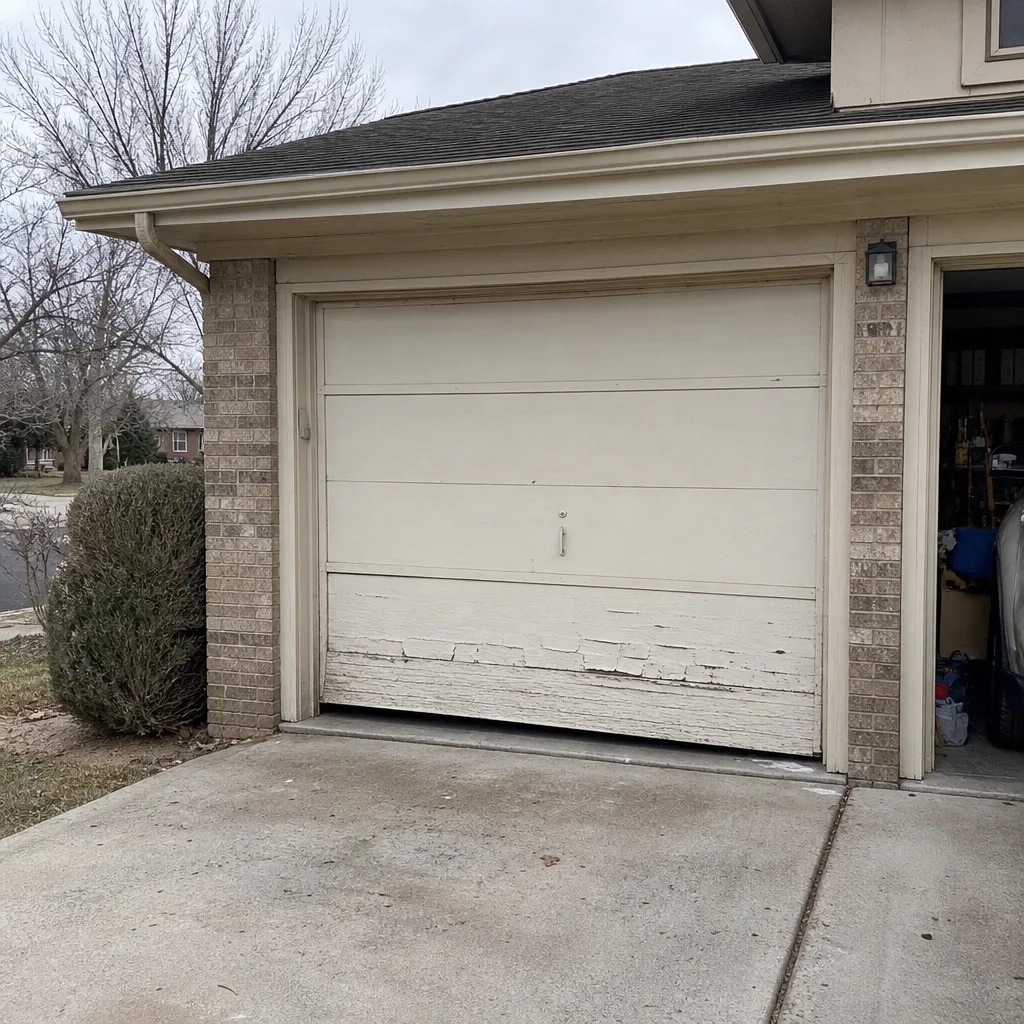 Before
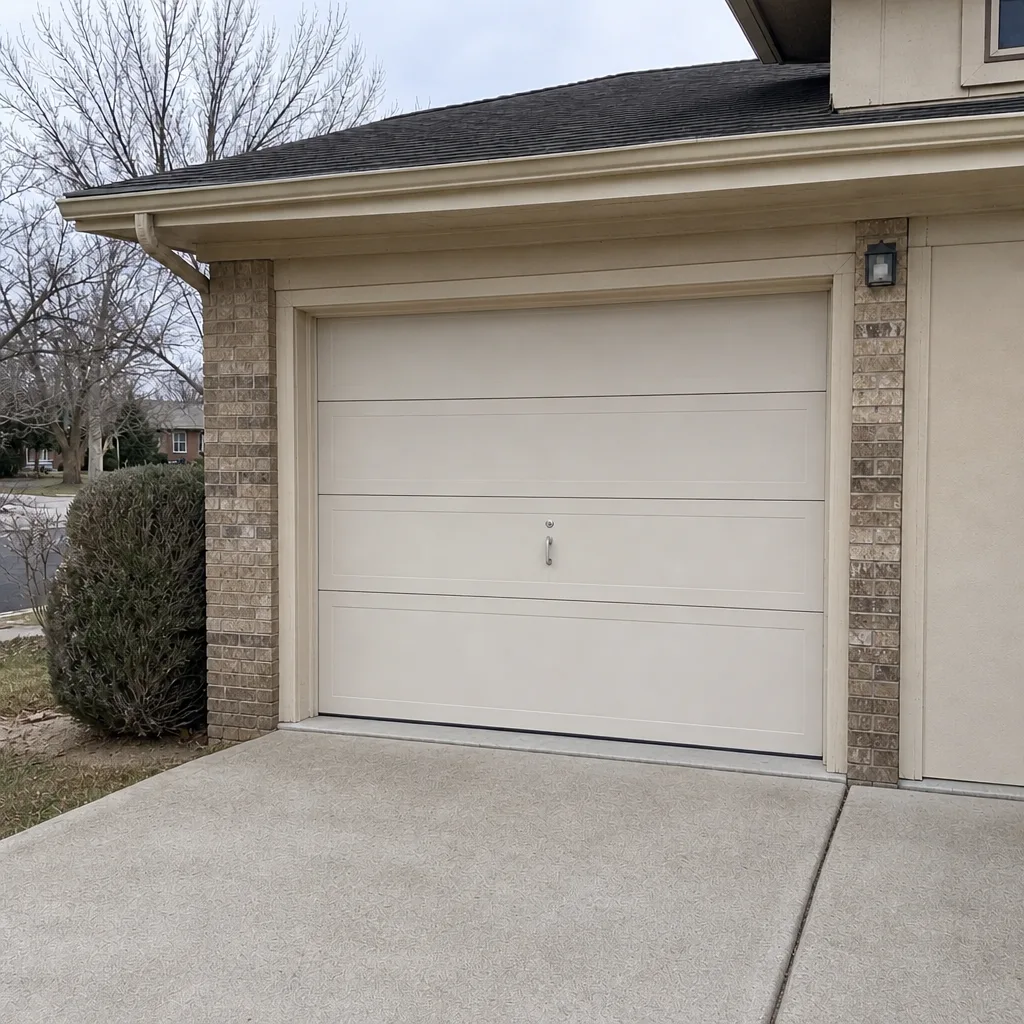 After
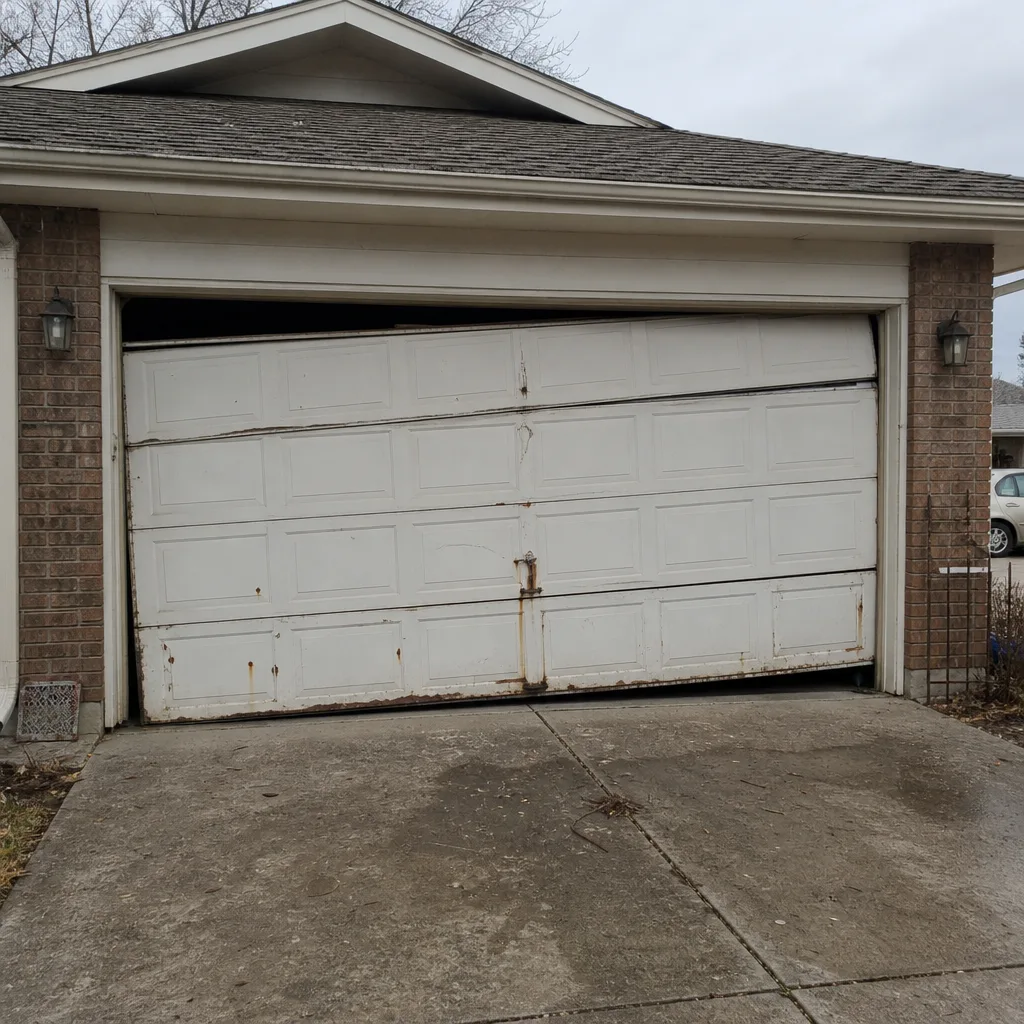 Before
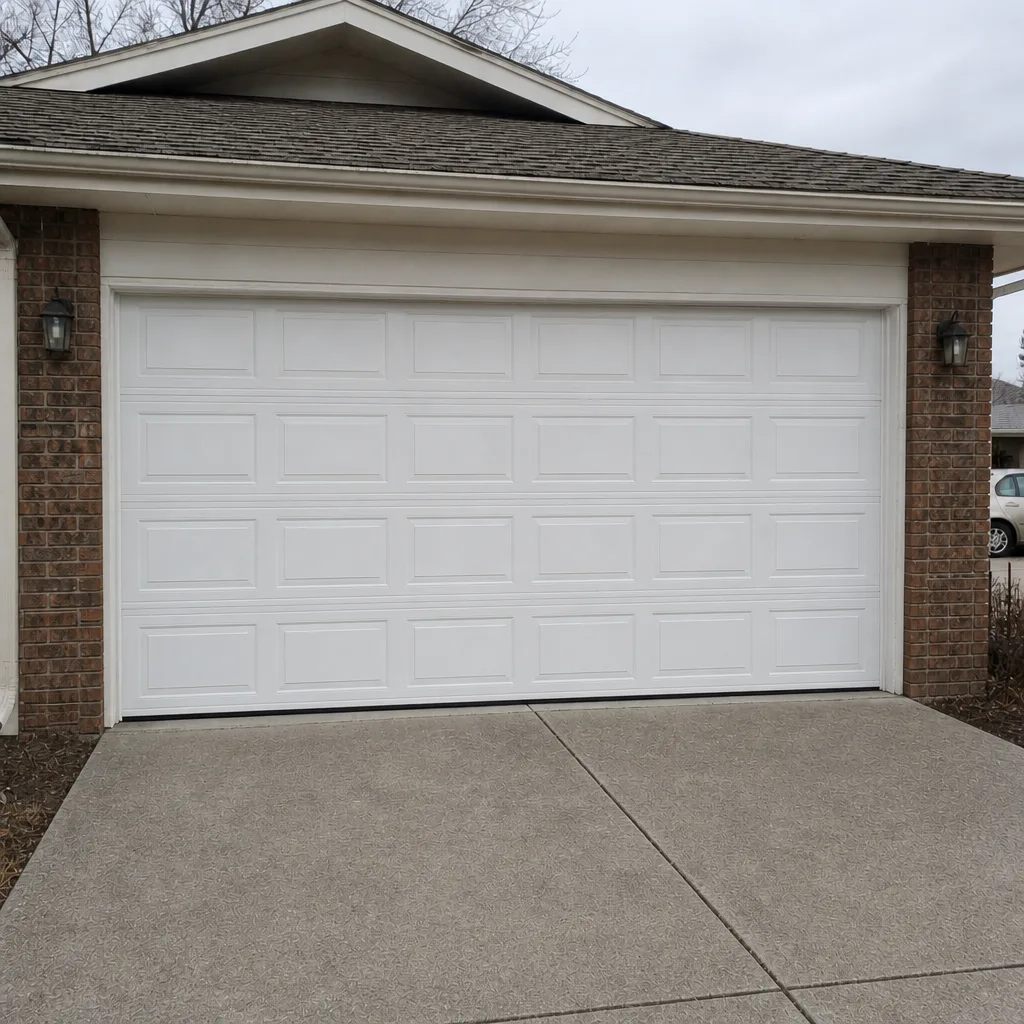 After
When to Call a Professional
Call a technician for anything involving torsion springs, cables, bottom brackets, or the internal parts of the opener. Those are the high-tension, high-voltage components of the system. If your balance test shows the door dropping or flying up, if you see frayed strands or a kinked cable, or if the door suddenly travels unevenly, stop using it and schedule a visit.
Garage Door Repair Heather Gardens offers free estimates in Heather Gardens. Call (833) 958-8653 and we’ll go through the checklist with you, confirm what’s actually wrong, and quote a price in writing before any work starts. Our technicians have up to 15 years of experience, and we work on LiftMaster, Chamberlain, Genie, Clopay, Amarr, Wayne Dalton, Craftsman, and Raynor systems specifically. One call covers it, from a worn roller to a full replacement. For quote details on a new door or track work, see our garage door installation page before you decide which way to go.
Frequently Asked Questions
Run it twice a year under normal use, once in spring and once before winter. If your household cycles the door several times a day, which is common in Heather Gardens, tighten it to every three to four months. Call (833) 958-8653 for a free estimate if a check turns up something you can’t safely handle.
No. Torsion springs should not be lubricated at all, and WD-40 in particular strips the coating that protects the steel from corrosion. Leave springs alone and let a trained technician inspect them. Call (833) 958-8653 for an exact quote; estimates are free.
A door that won’t hold position at waist height has springs that are losing tension. That’s a warning sign of a weakening spring, not an emergency, but it should be checked before the opener has to work harder than it should. Call (833) 958-8653 for an exact quote; estimates are free.
Look for frizzy strands at the drum, kinks or flat spots in the cable, rust streaks on the door, or one side of the door lagging behind the other. If you see any of these, don’t touch the cable: call a technician. Reach us at (833) 958-8653 for a free estimate.
The local professionals we connect you with are licensed and insured as their state requires, and our technicians have up to 15 years of experience. We work on Amarr, Wayne Dalton, Craftsman, Raynor, and the other major residential brands. Call (833) 958-8653 for a free estimate and we’ll confirm the details before any work starts.
No. We quote the job and agree on a written price before any work starts, so the number you agree to is the number on your invoice. If a repair uncovers something beyond what the inspection showed, we talk it through with you before we lift a tool. Call (833) 958-8653 for an exact quote; estimates are free.
The Bottom Line
A good garage door checklist isn’t about doing more. It’s about knowing what each check is watching for. Lubricate hinges and steel rollers with the right product, leave springs and tracks alone, test balance with the manual disconnect method, and check cables and seals on a regular schedule. In Heather Gardens, that means twice a year at minimum, more often for a household that’s in and out all day. Springs and cables are inspection only; that work belongs to a trained professional. If you want a real set of eyes on the door, wherever it sits on the checklist, give us a call and we’ll go through it with you.
Ready to get your door checked? Call Garage Door Repair Heather Gardens at (833) 958-8653 for a free estimate. We work on the full range of residential brands and systems, from a single worn part to a complete new door, and we’ll give you a clear answer on what’s wrong and what it costs before anything starts.
Written by the team at Garage Door Repair Heather Gardens.